Tutorial: Fit and quantify individual spectra acquired with AutoEMX
Tip
Prefer a GUI? You can fit and quantify single spectra of your samples in the AutoEMX GUI, without editing scripts: see Tutorial: Fit and quantify individual spectra in the GUI.
This tutorial shows how to fit–and optionall quantify– a single EDS spectrum,
using the Fit_Quant_Single_AutoEMX_Spectrum.py script.
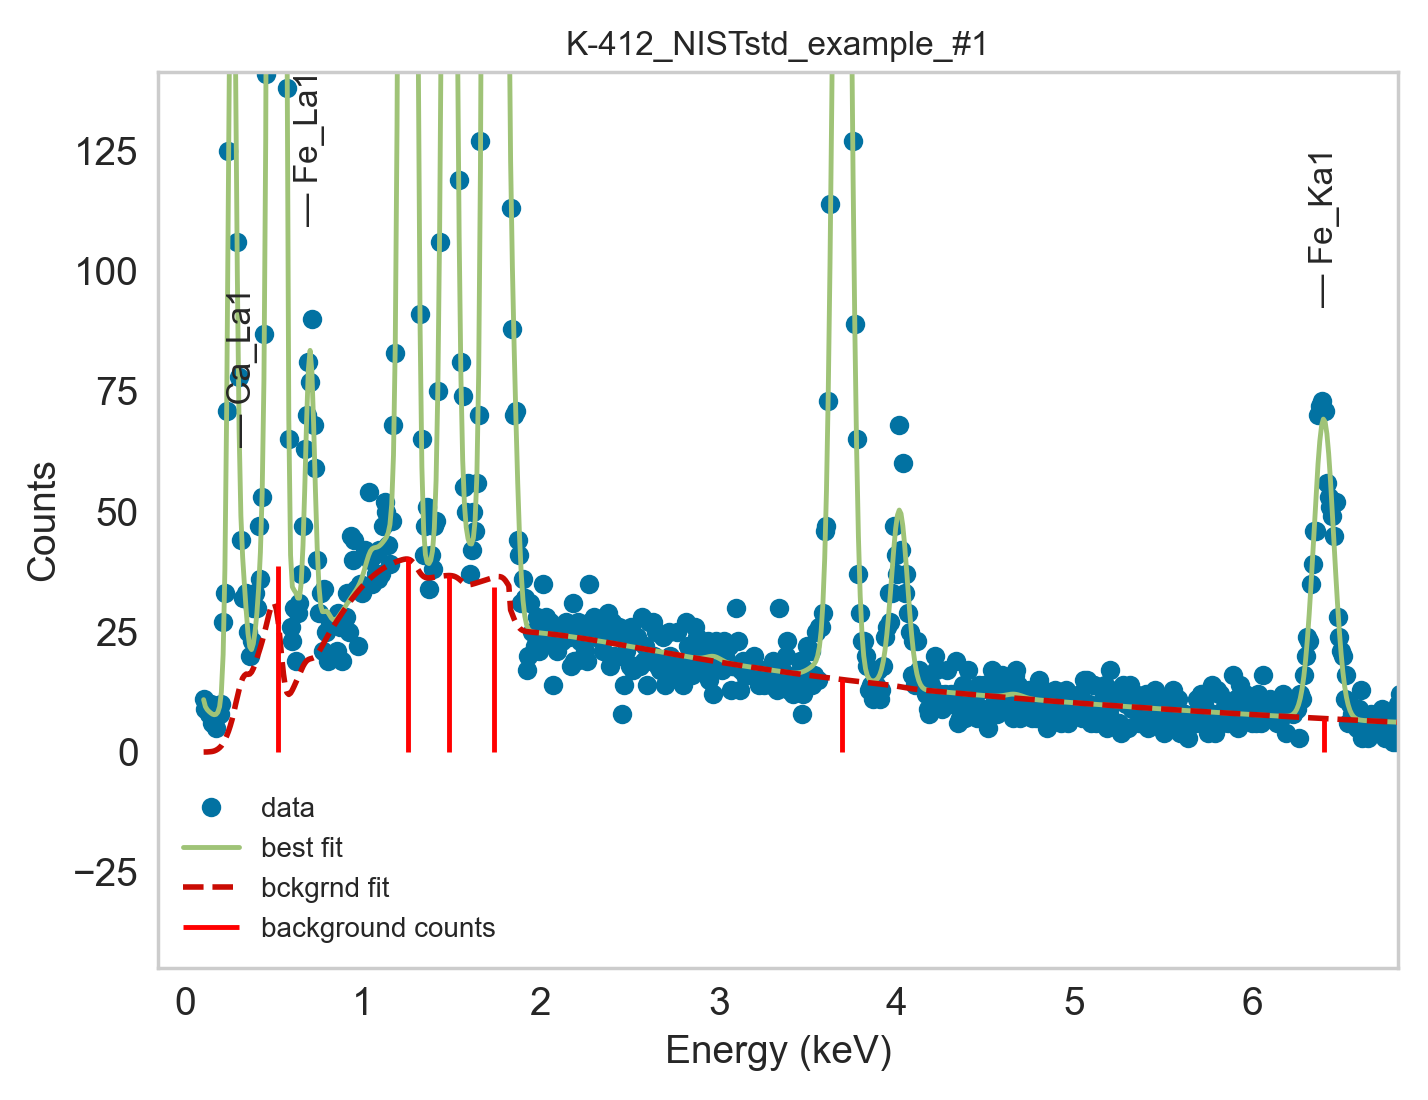
This allows to select an individual spectrum from the acquired data and visualize the fitted spectrum for inspection of model fitting performance.
This script also prints the full fitting and quantification process steps, prints the employed fit parameters and their final values.
It also enables further customization options for fitting and quantification for evaluating the performance of different EDS models, allowing to define a set of parameters to use in your standard EDS quantification operations.
Step 1 - Open script to edit
Open autoemx/scripts/Fit_Quant_Single_AutoEMX_Spectrum.py.
Step 2 - Define Spectrum to Fit
Set the spectrum to analyse by defining:
sample_ID: name of the sample folder. Include any counter if present (e.g. ‘Wulfenite_2’).spectrum_ID: ID of the spectrum to fit: the number in its file name,spectra/spectrum_<ID>.msa, inside the folder namedsample_ID. It is also in theSpectrum #column ofCompositions.csv(in the sample’sanalysis_quant<i>_clust<j>folder) and on the annotated particle images.results_path: absolute or relative path to the project folder, containing thesample_IDdata. AutoEMX will search for a folder namedsample_IDin any of the subfolders withinresults_path.
Step 3 - Modify Parameters
Modify the rest of the parameters to match to the sample you’re fitting.
For details on the parameters, see the API of
fit_and_quantify_spectrum().
Step 4 - Launch script
Visualise the fitted spectrum and evaluate goodness of fit.
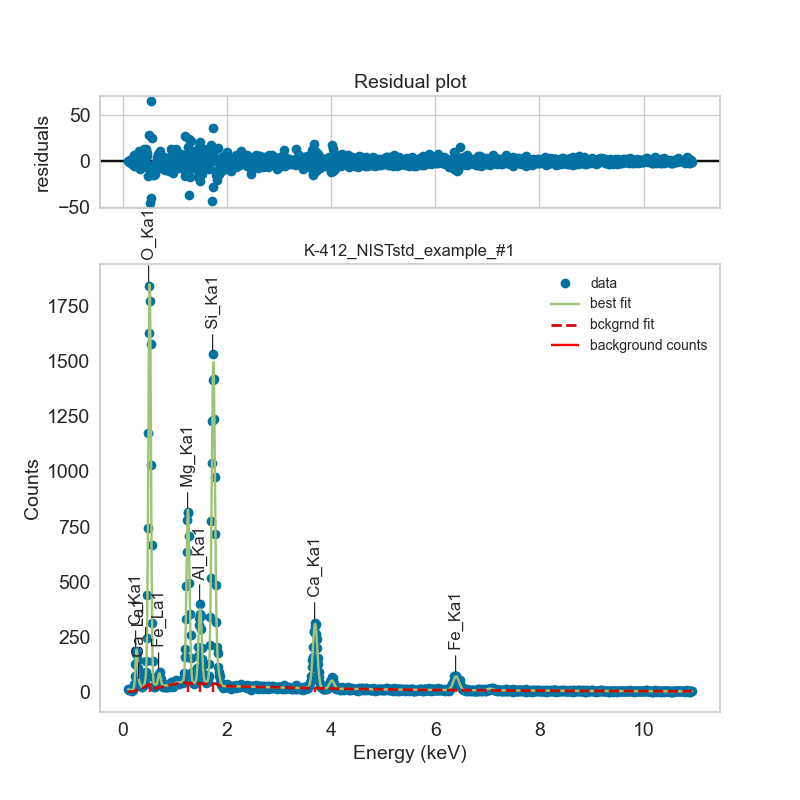
The background fitting is especially important when it comes to peak-to-background EDS quantification.